Initial setup
Create a server
- Create a server in WHMCS
- Assign it to the Katapult module
- Use any value you like for hostname
- Ignore the other fields such as username, password, access hash
- Note that the "Continue Anyway" button is disabled until after you have hit "Test Connection"
- Hit "Test Connection" and ignore the error message
- Hit "Continue Anyway"
- On the next page, name your server and Save Changes
Authentication to Katapult is setup when you create your first product in the following steps.
A server is required to use the Single Sign-On (SSO) functionality of this module. It is used to open a console session on a Virtual Machine (VM).
Ensure the server is the default (marked with an asterisk*). All future Katapult services will need to be assigned to it for SSO to function.
Create a product group (optional)
You may opt to split the Katapult products into a new product group. However, this is not a requirement.
Create the first product
Create a product as normal and set the module to Katapult. It is important that at this stage you click Save Changes before proceeding.
You can now click the 'Other' tab on the product's configuration, and you will be presented with a screen to enter your Katapult API key and parent organization (if using a user key). Fill those in and click Save Changes. Note that this screen will not show up unless the product is assigned to the Katapult module and then saved, before viewing the 'Other' tab.
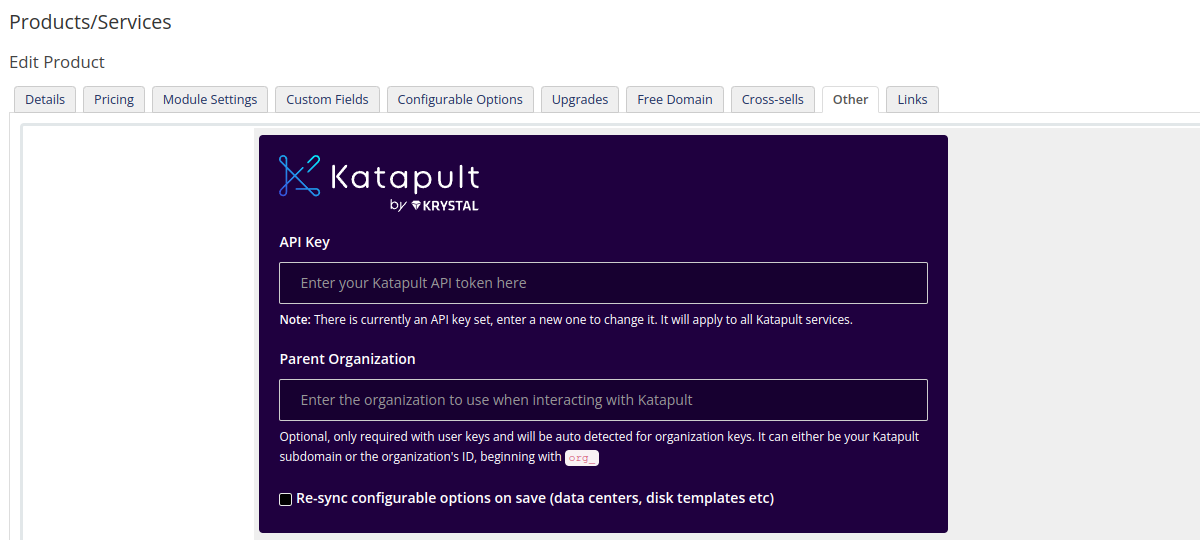
When you save your API key, WHMCS will retrieve available data centers and disk templates from Katapult and assign them to configurable options for your Katapult products.
Once the API key and parent organization have been saved, you can go back to the 'Module Settings' tab, and select the VM package you wish to assign to this product, and then Save Changes.
You are now ready to sell this product as you would any other WHMCS product.