Quickstart
This quickstart walks you through creating your first organization in Katapult, inviting a teammate, and confirming they can log in with the correct permissions.
Before you begin
- You have a Katapult invite link or you're starting fresh at katapult.io.
- You can reach Krystal Identity in your browser.
Sign up or log in
- Go to the Katapult sign-up page and click Continue with Krystal Identity.
- Create your user account (or sign in).

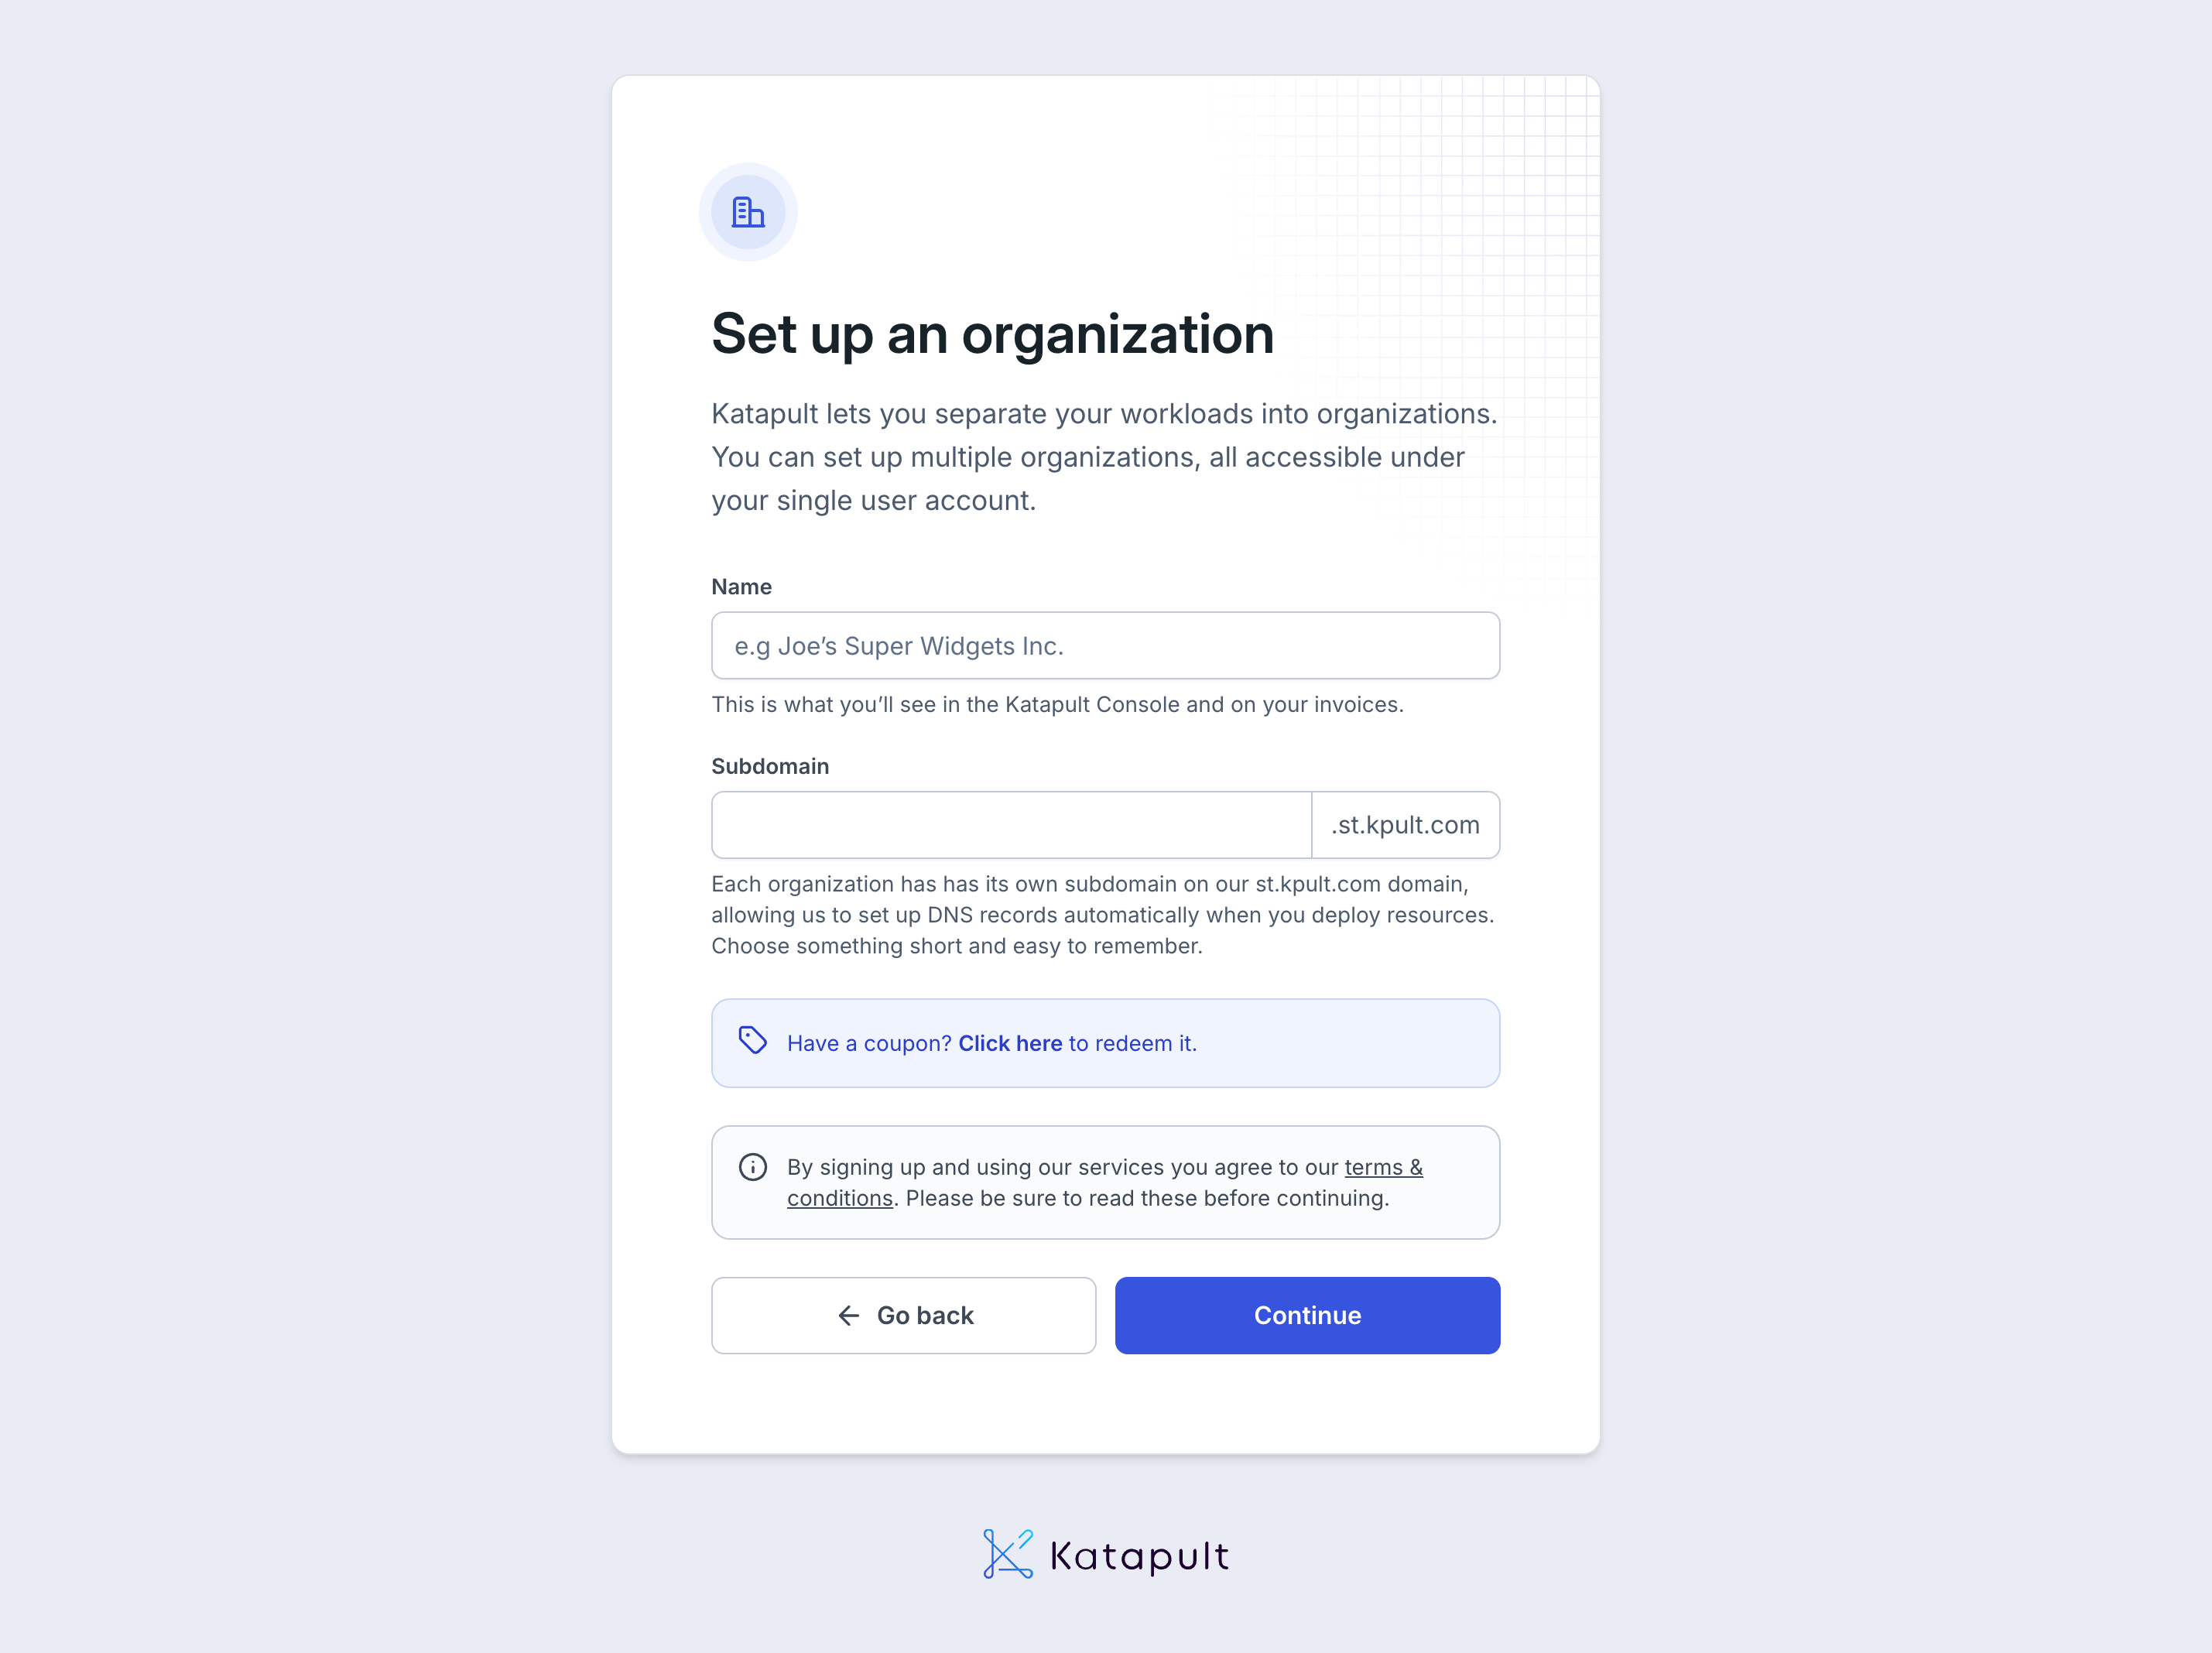
Create your organization
After login, Katapult prompts you to create an organization.
- Enter a name (you can change it later) and an organization subdomain.
- Click Continue and follow the rest of the on-screen instructions to finish creating your organization.
info
Katapult and Identity now share the same organization record.
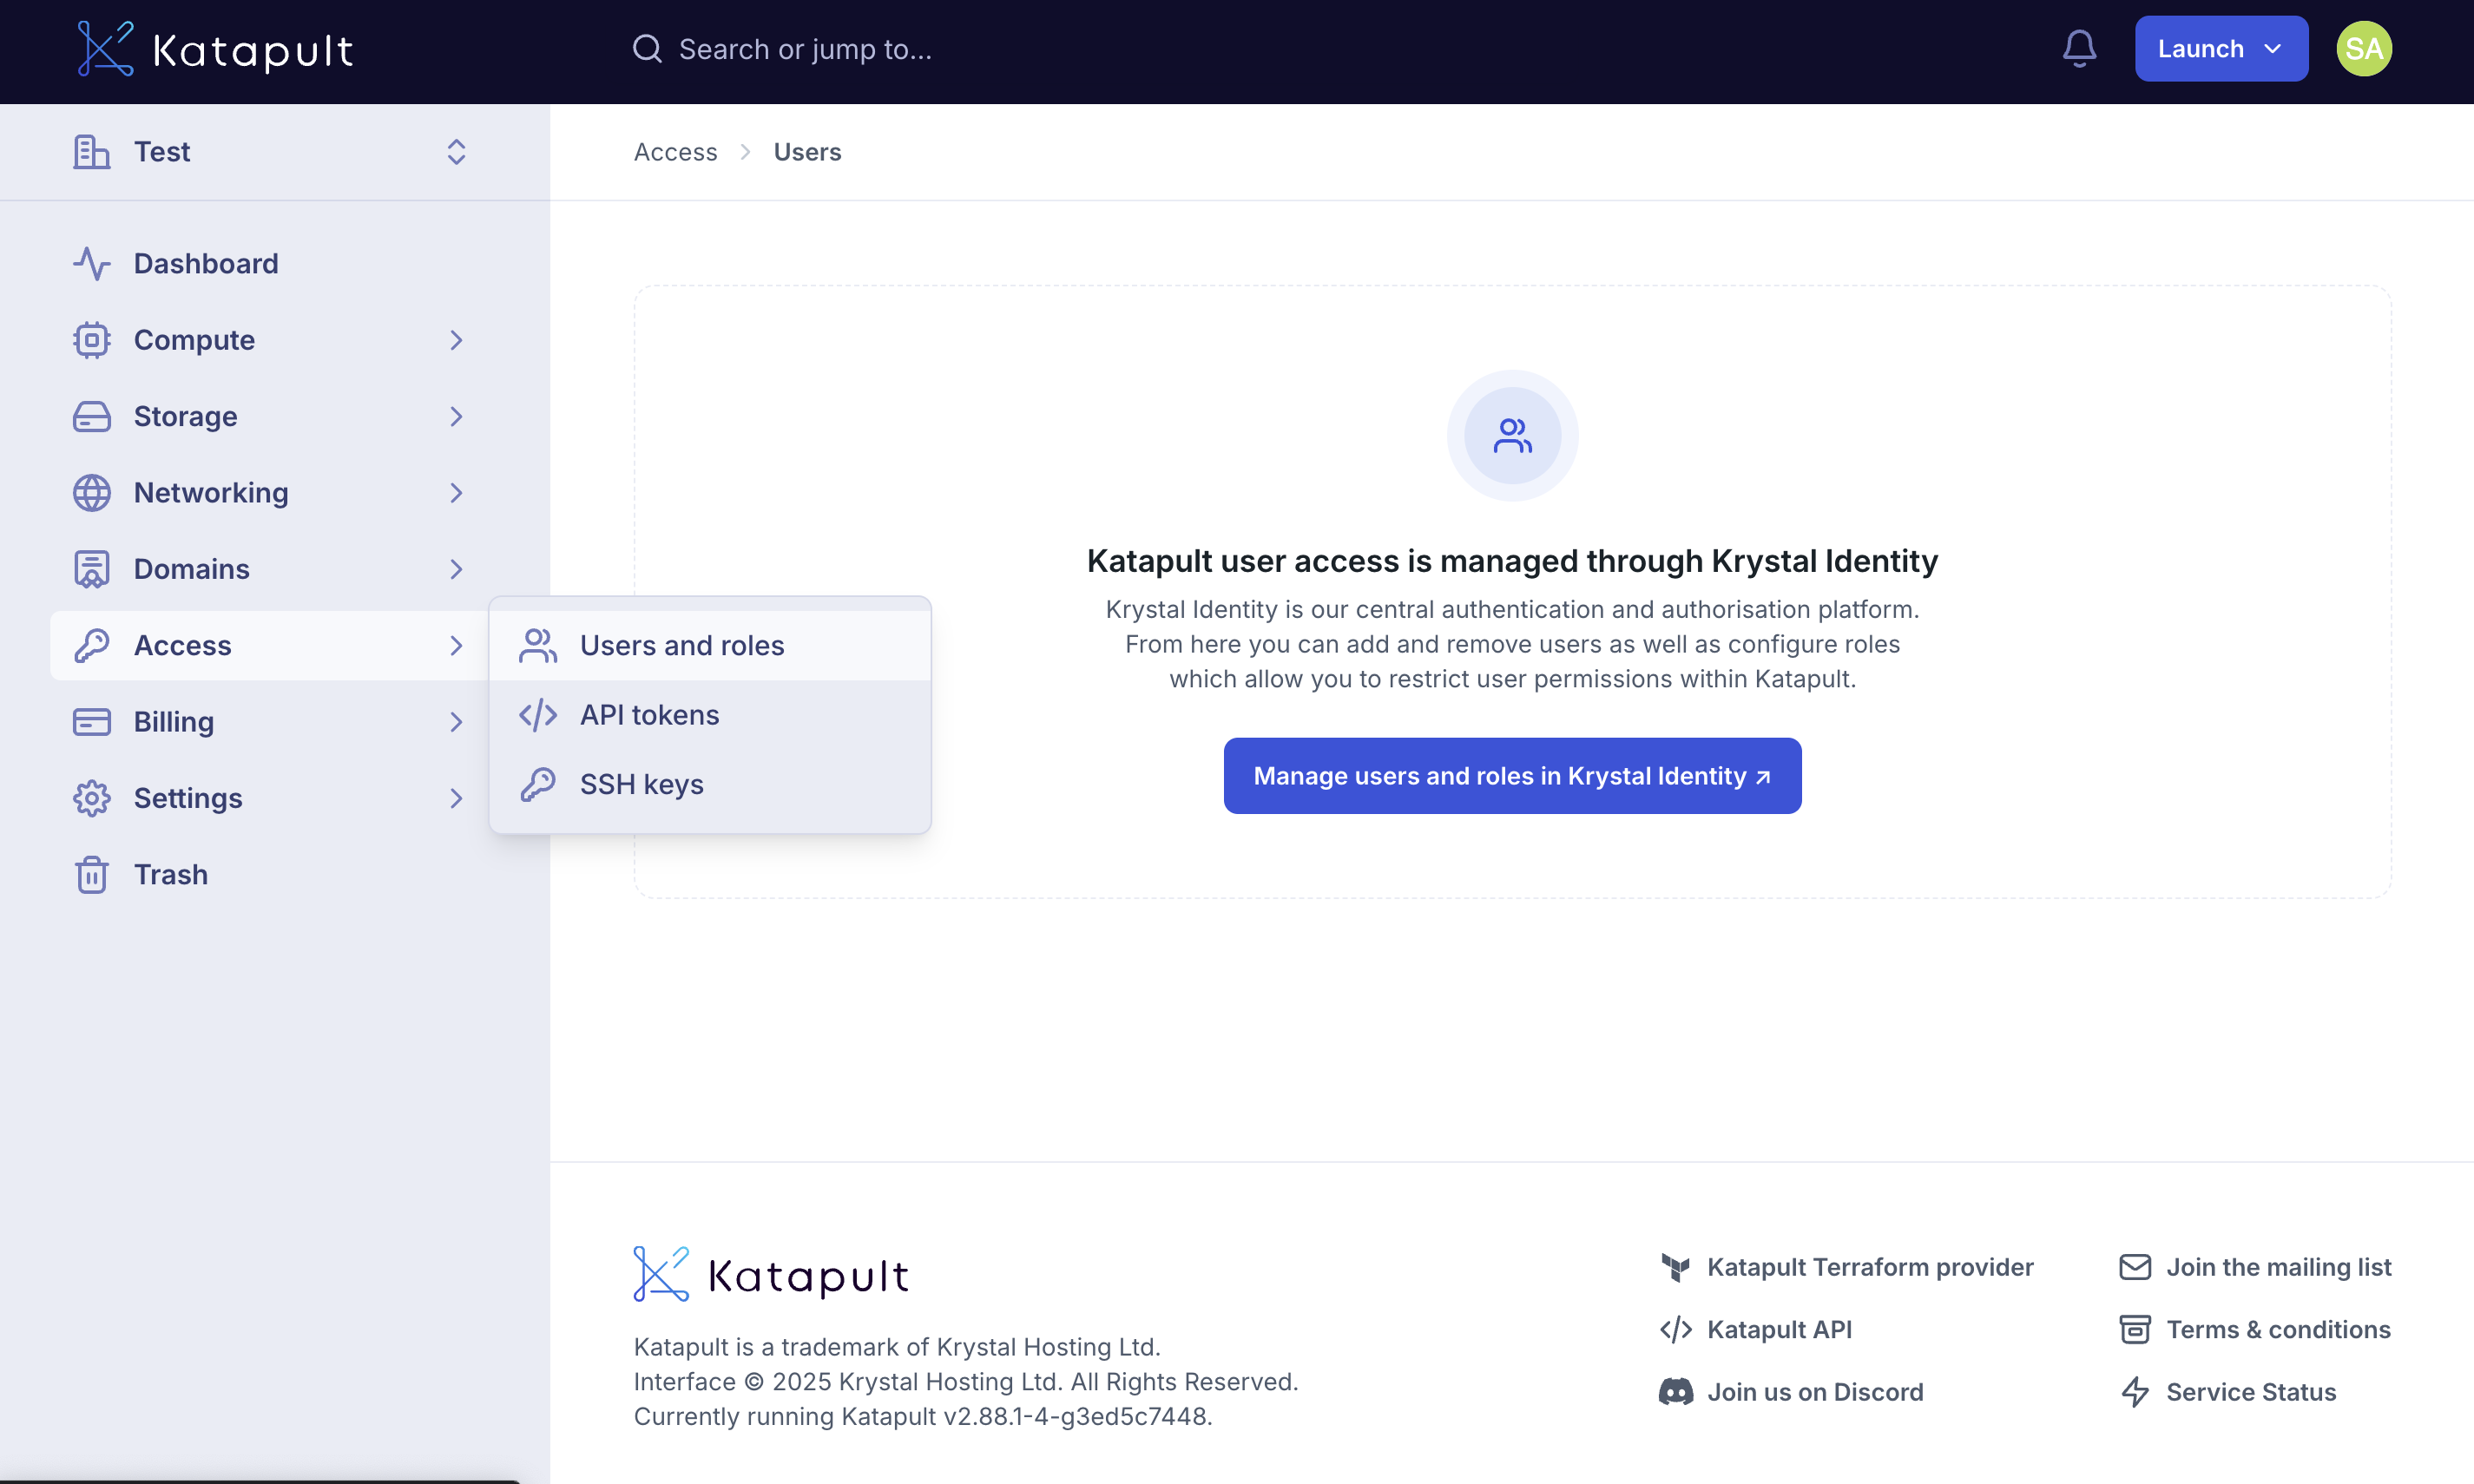
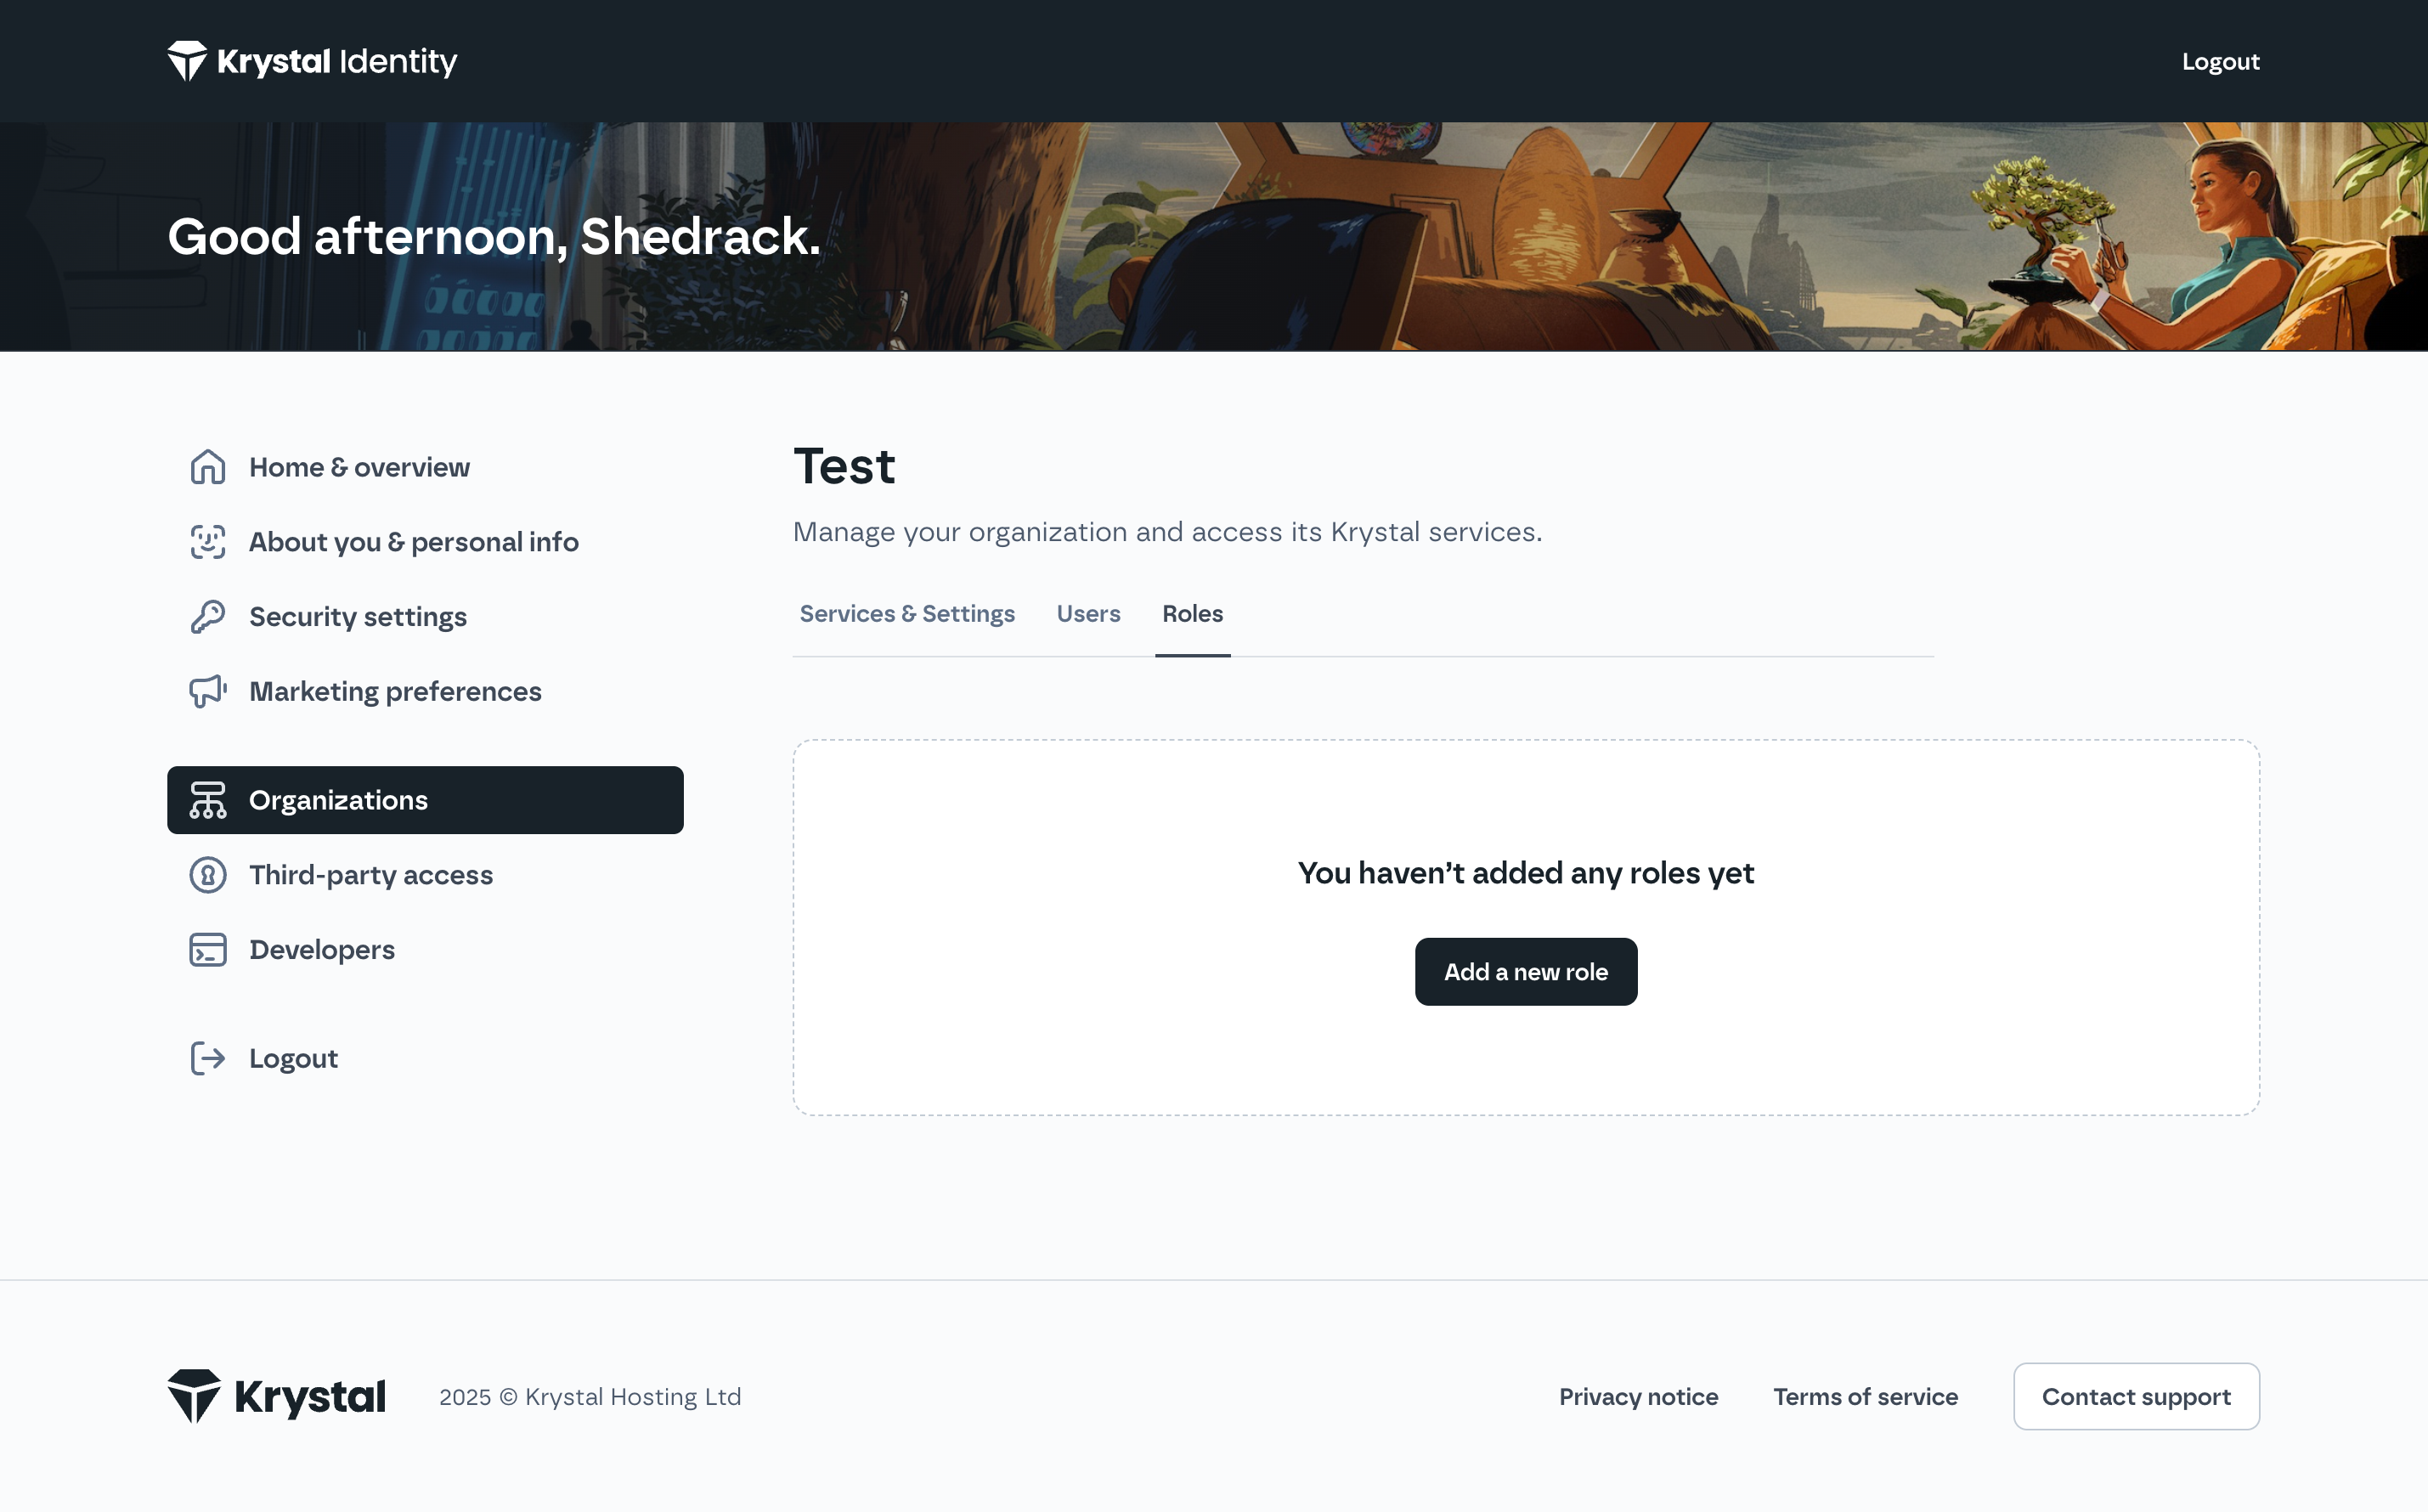
Create a Role
- In the Katapult dashboard, navigate to Access → Users and roles and select Manage users and roles in Krystal Identity.
- In the Krystal Identity dashboard, go to organization → Roles. Select Add a new role.
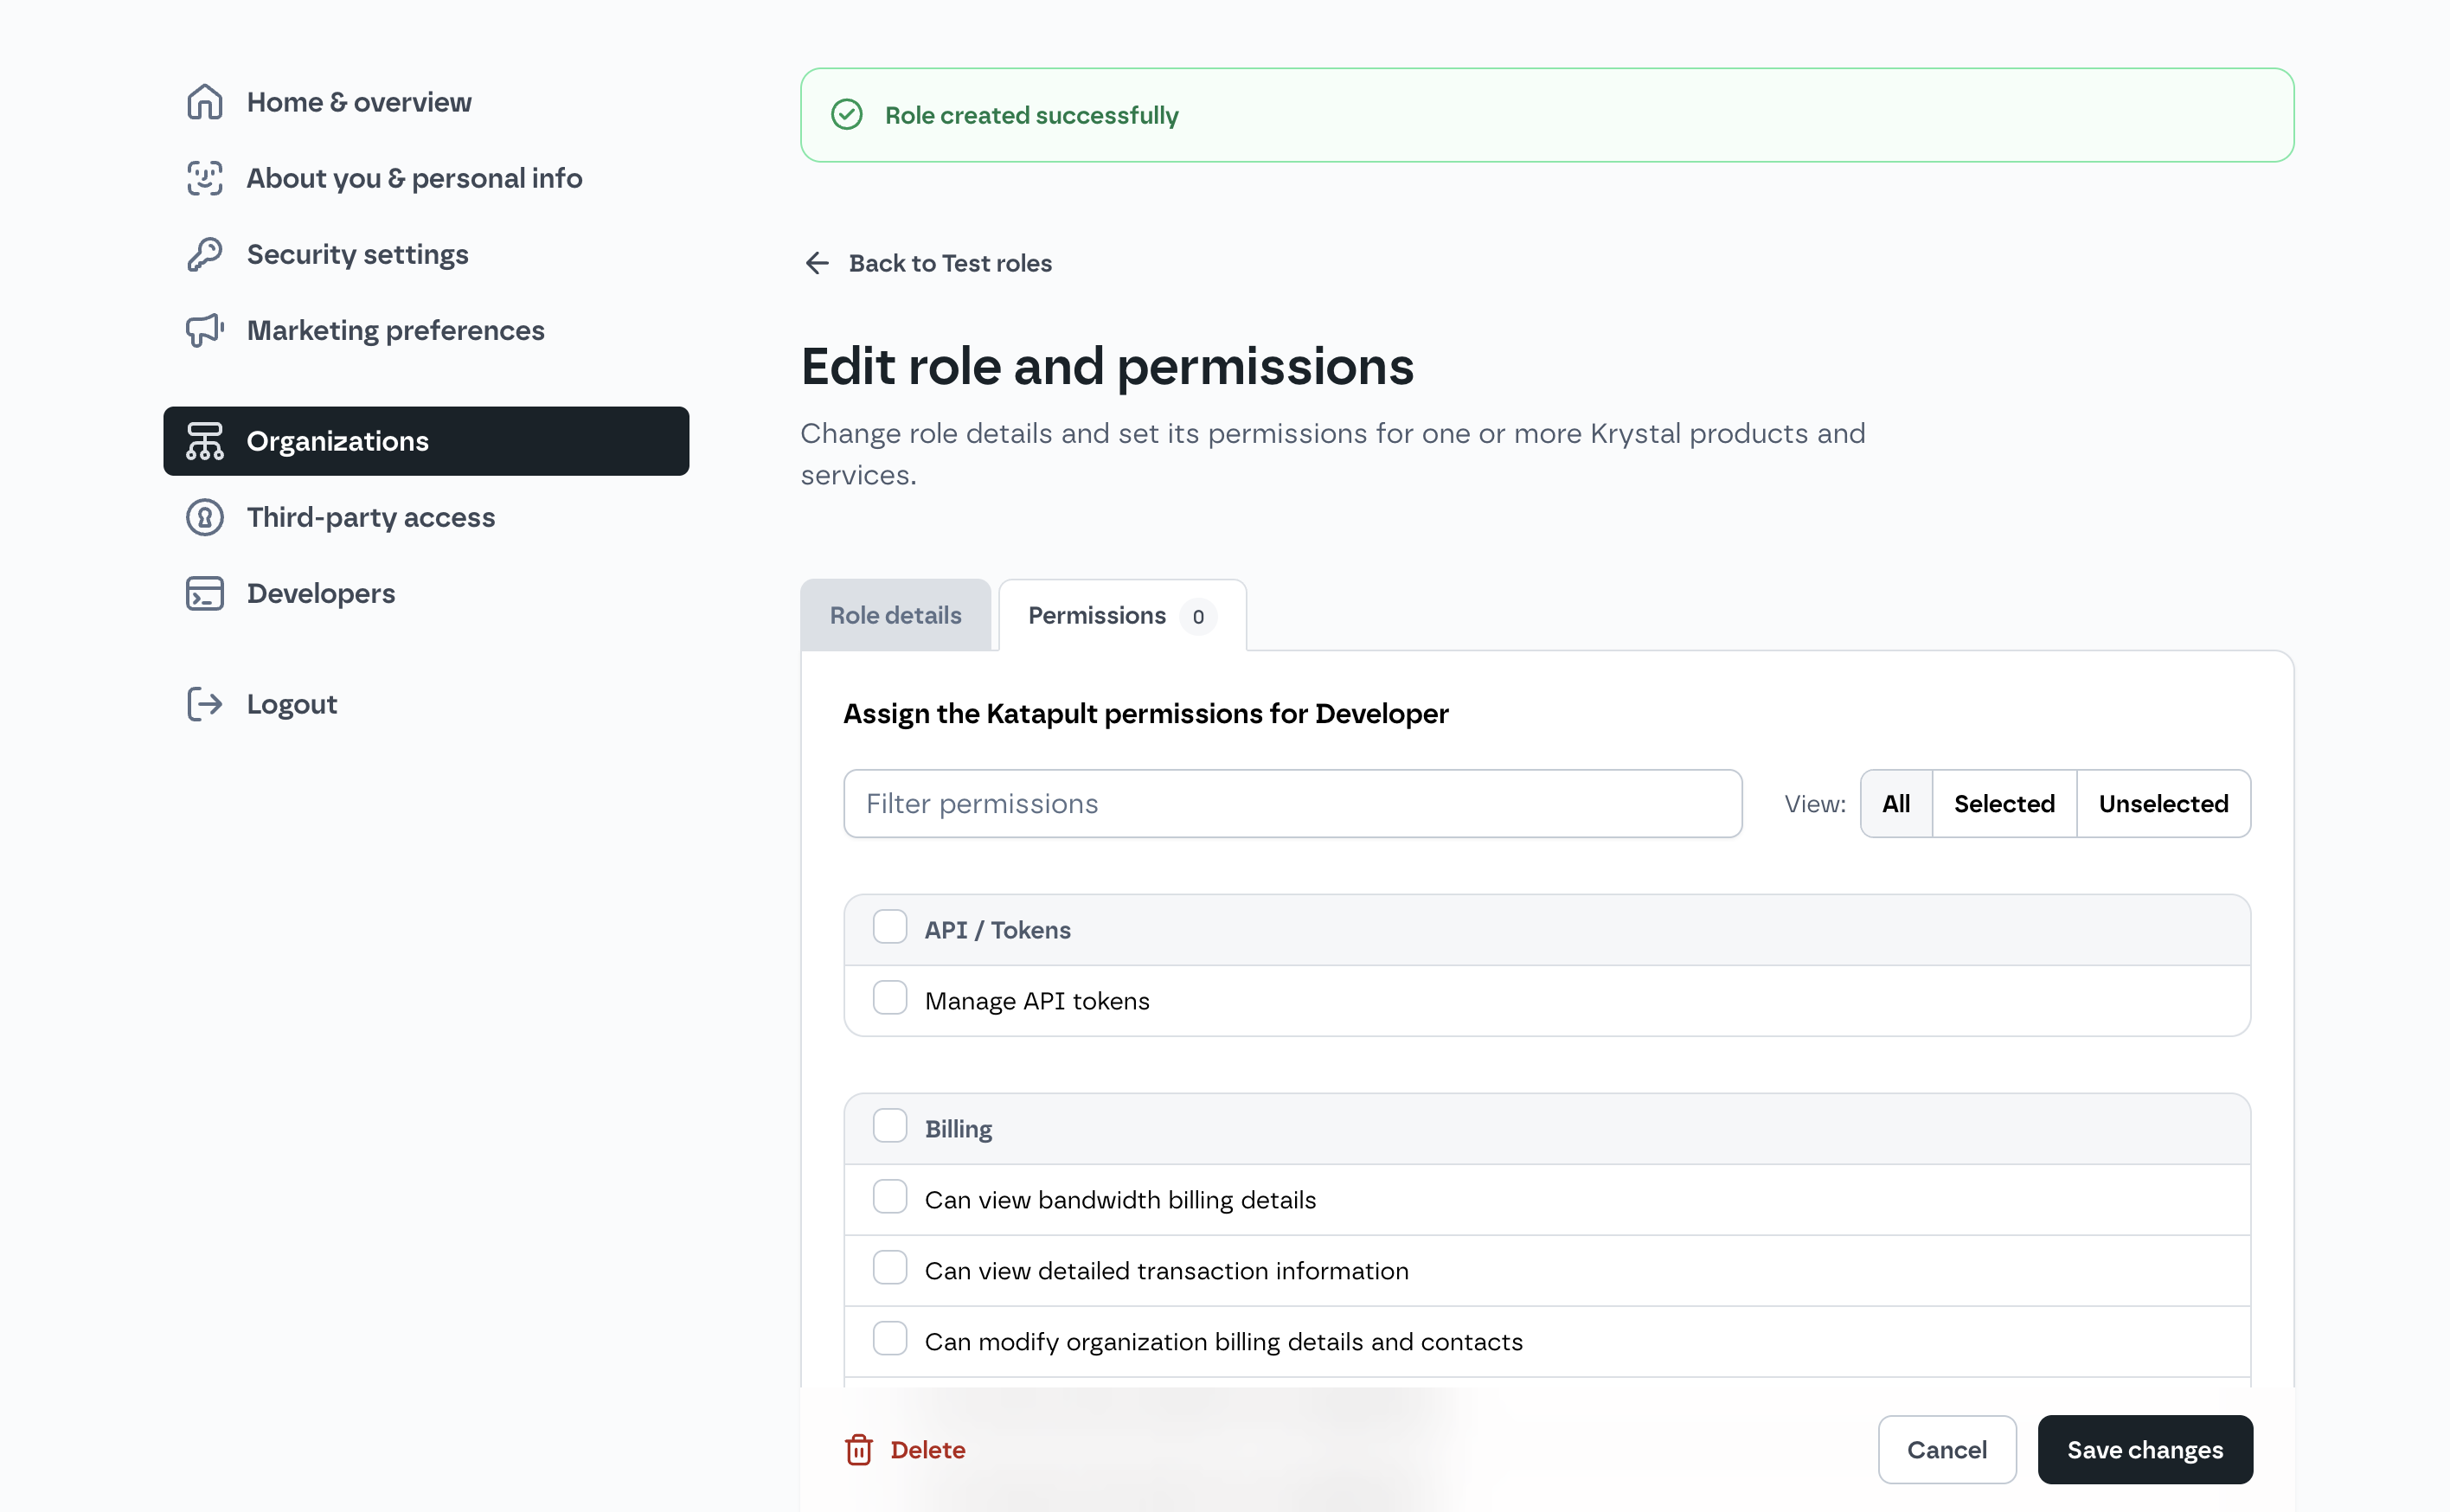
- Next, give the role a clear name and description, for example, "Developer" and select Create role.

- After creating a new role, you'll be asked to edit the role permissions. Tick the permissions the role should include. When you're happy, select Save changes.
tip
You'll assign this role in the next step.
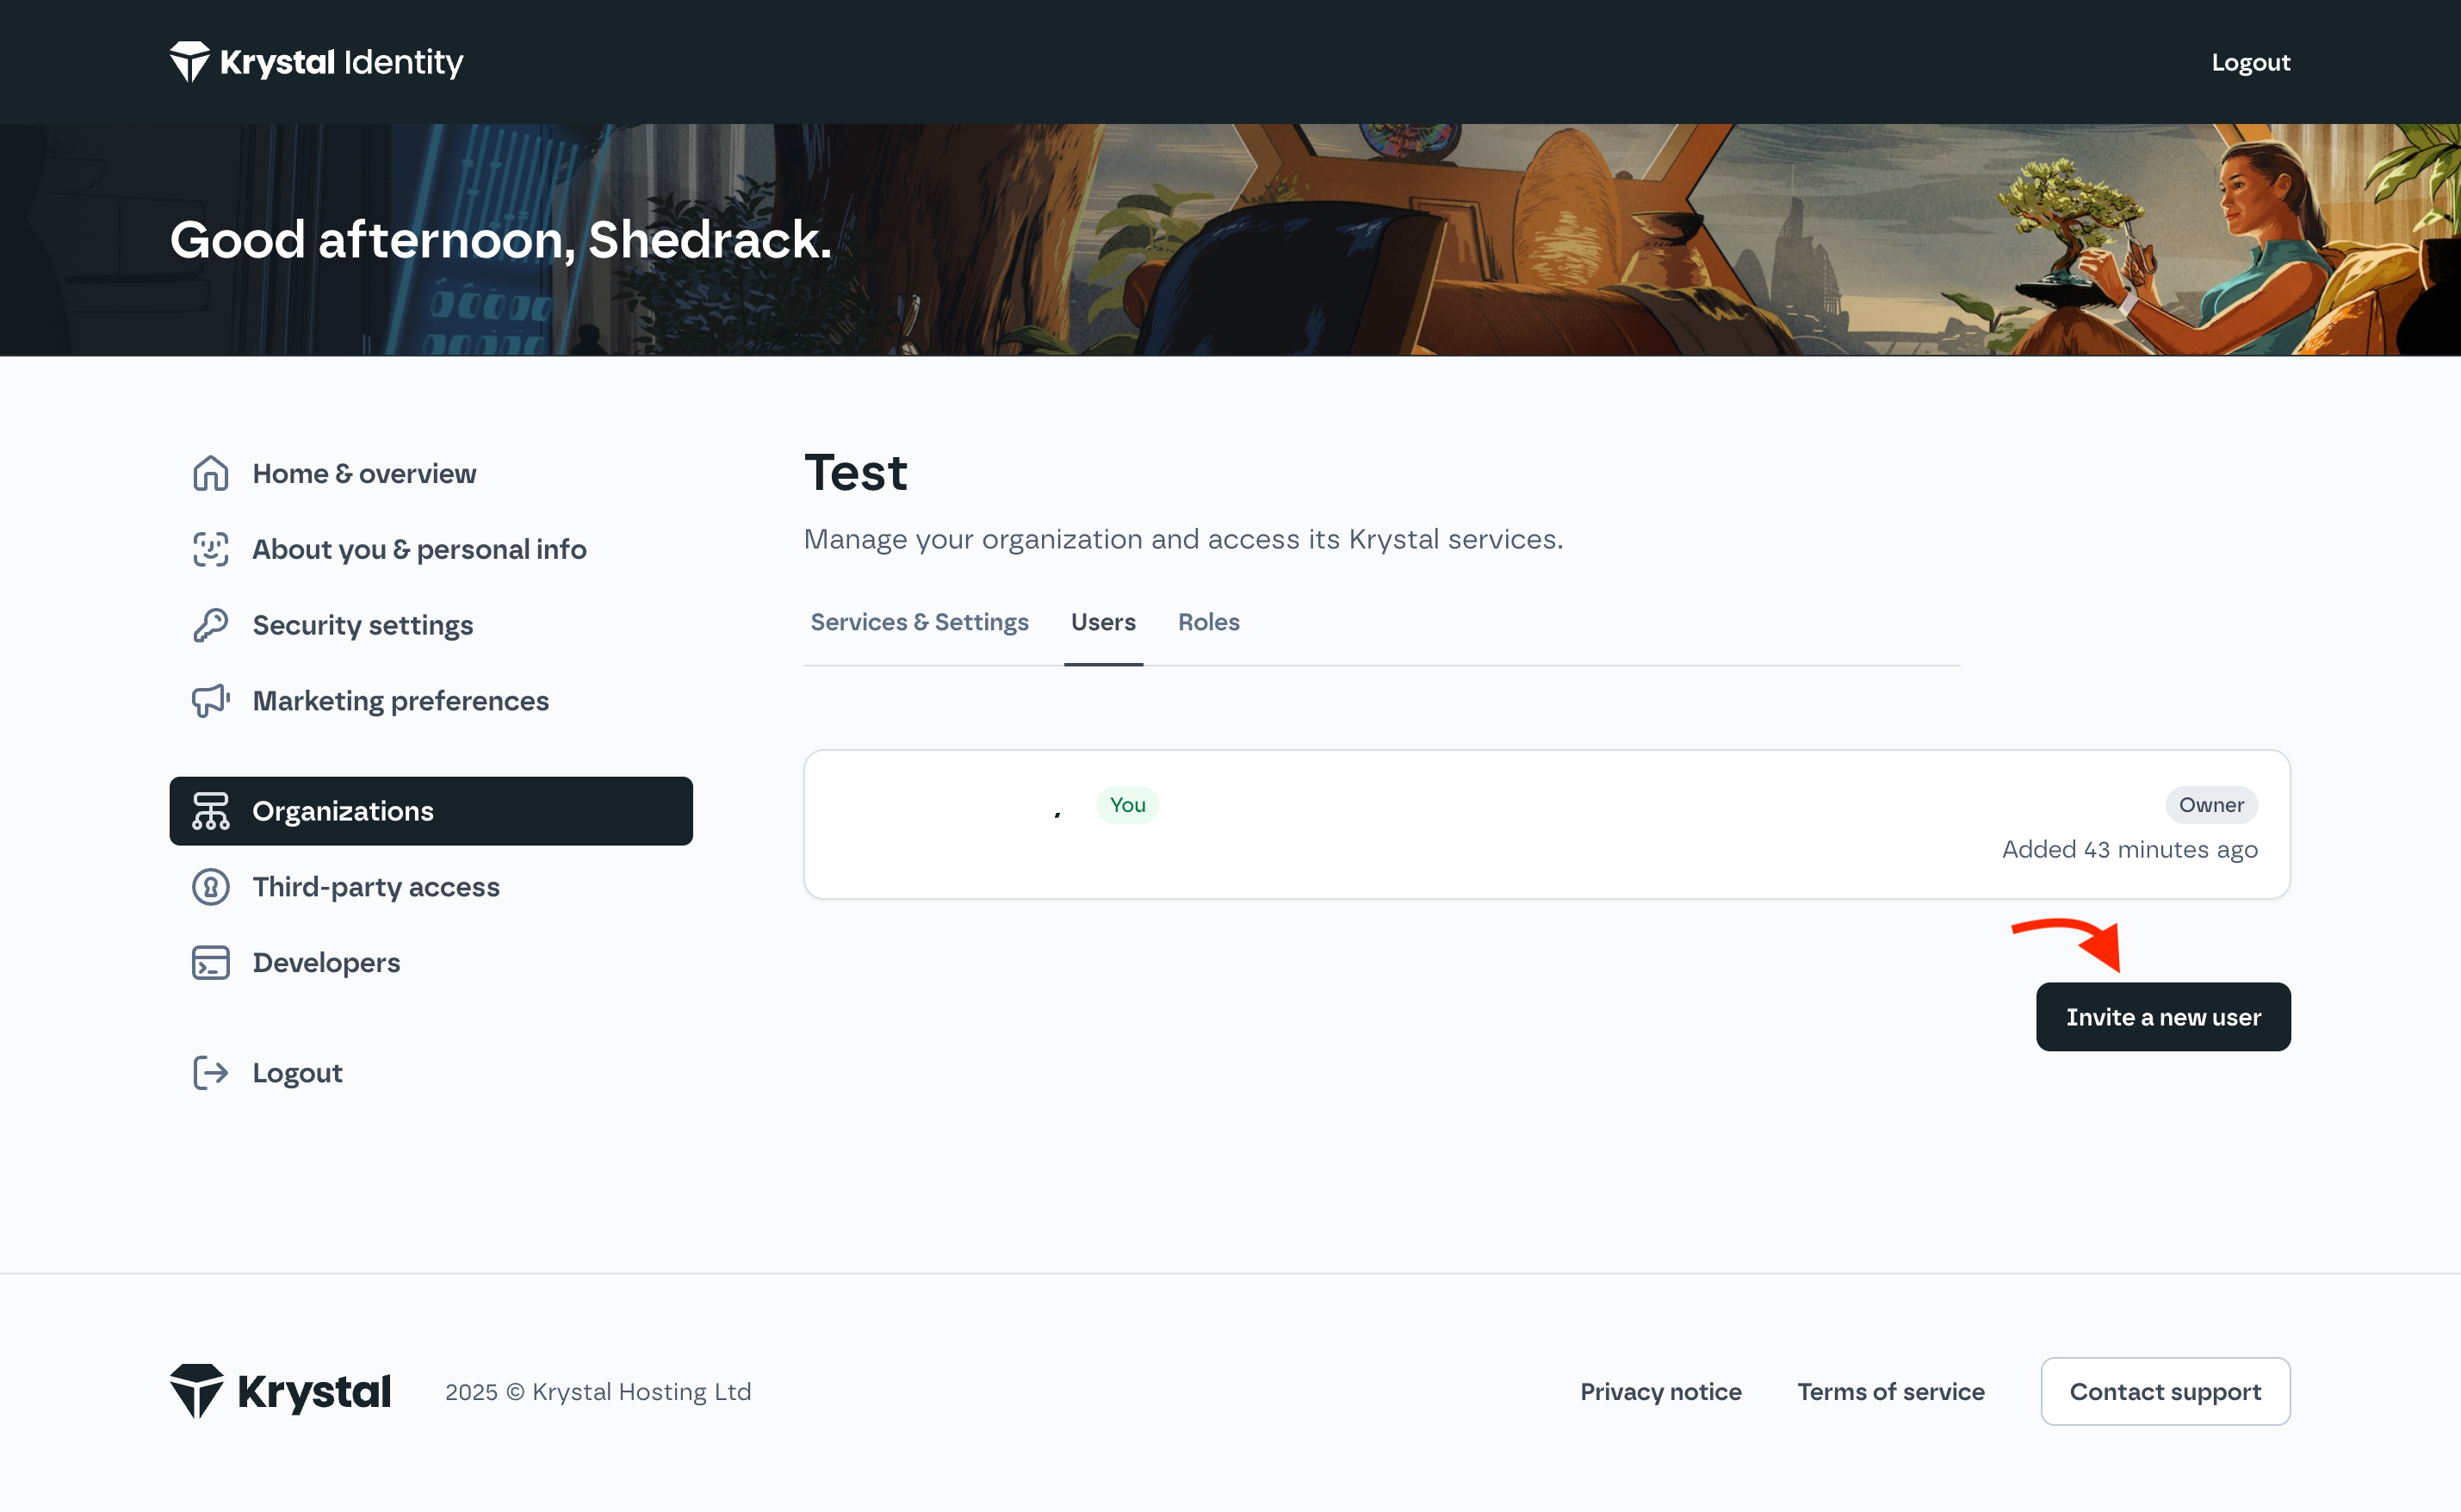
Invite a teammate
- In the Krystal Identity dashboard, open organizations → Users and select Invite user.
- Enter their email and pick a role. Click Send invitation.
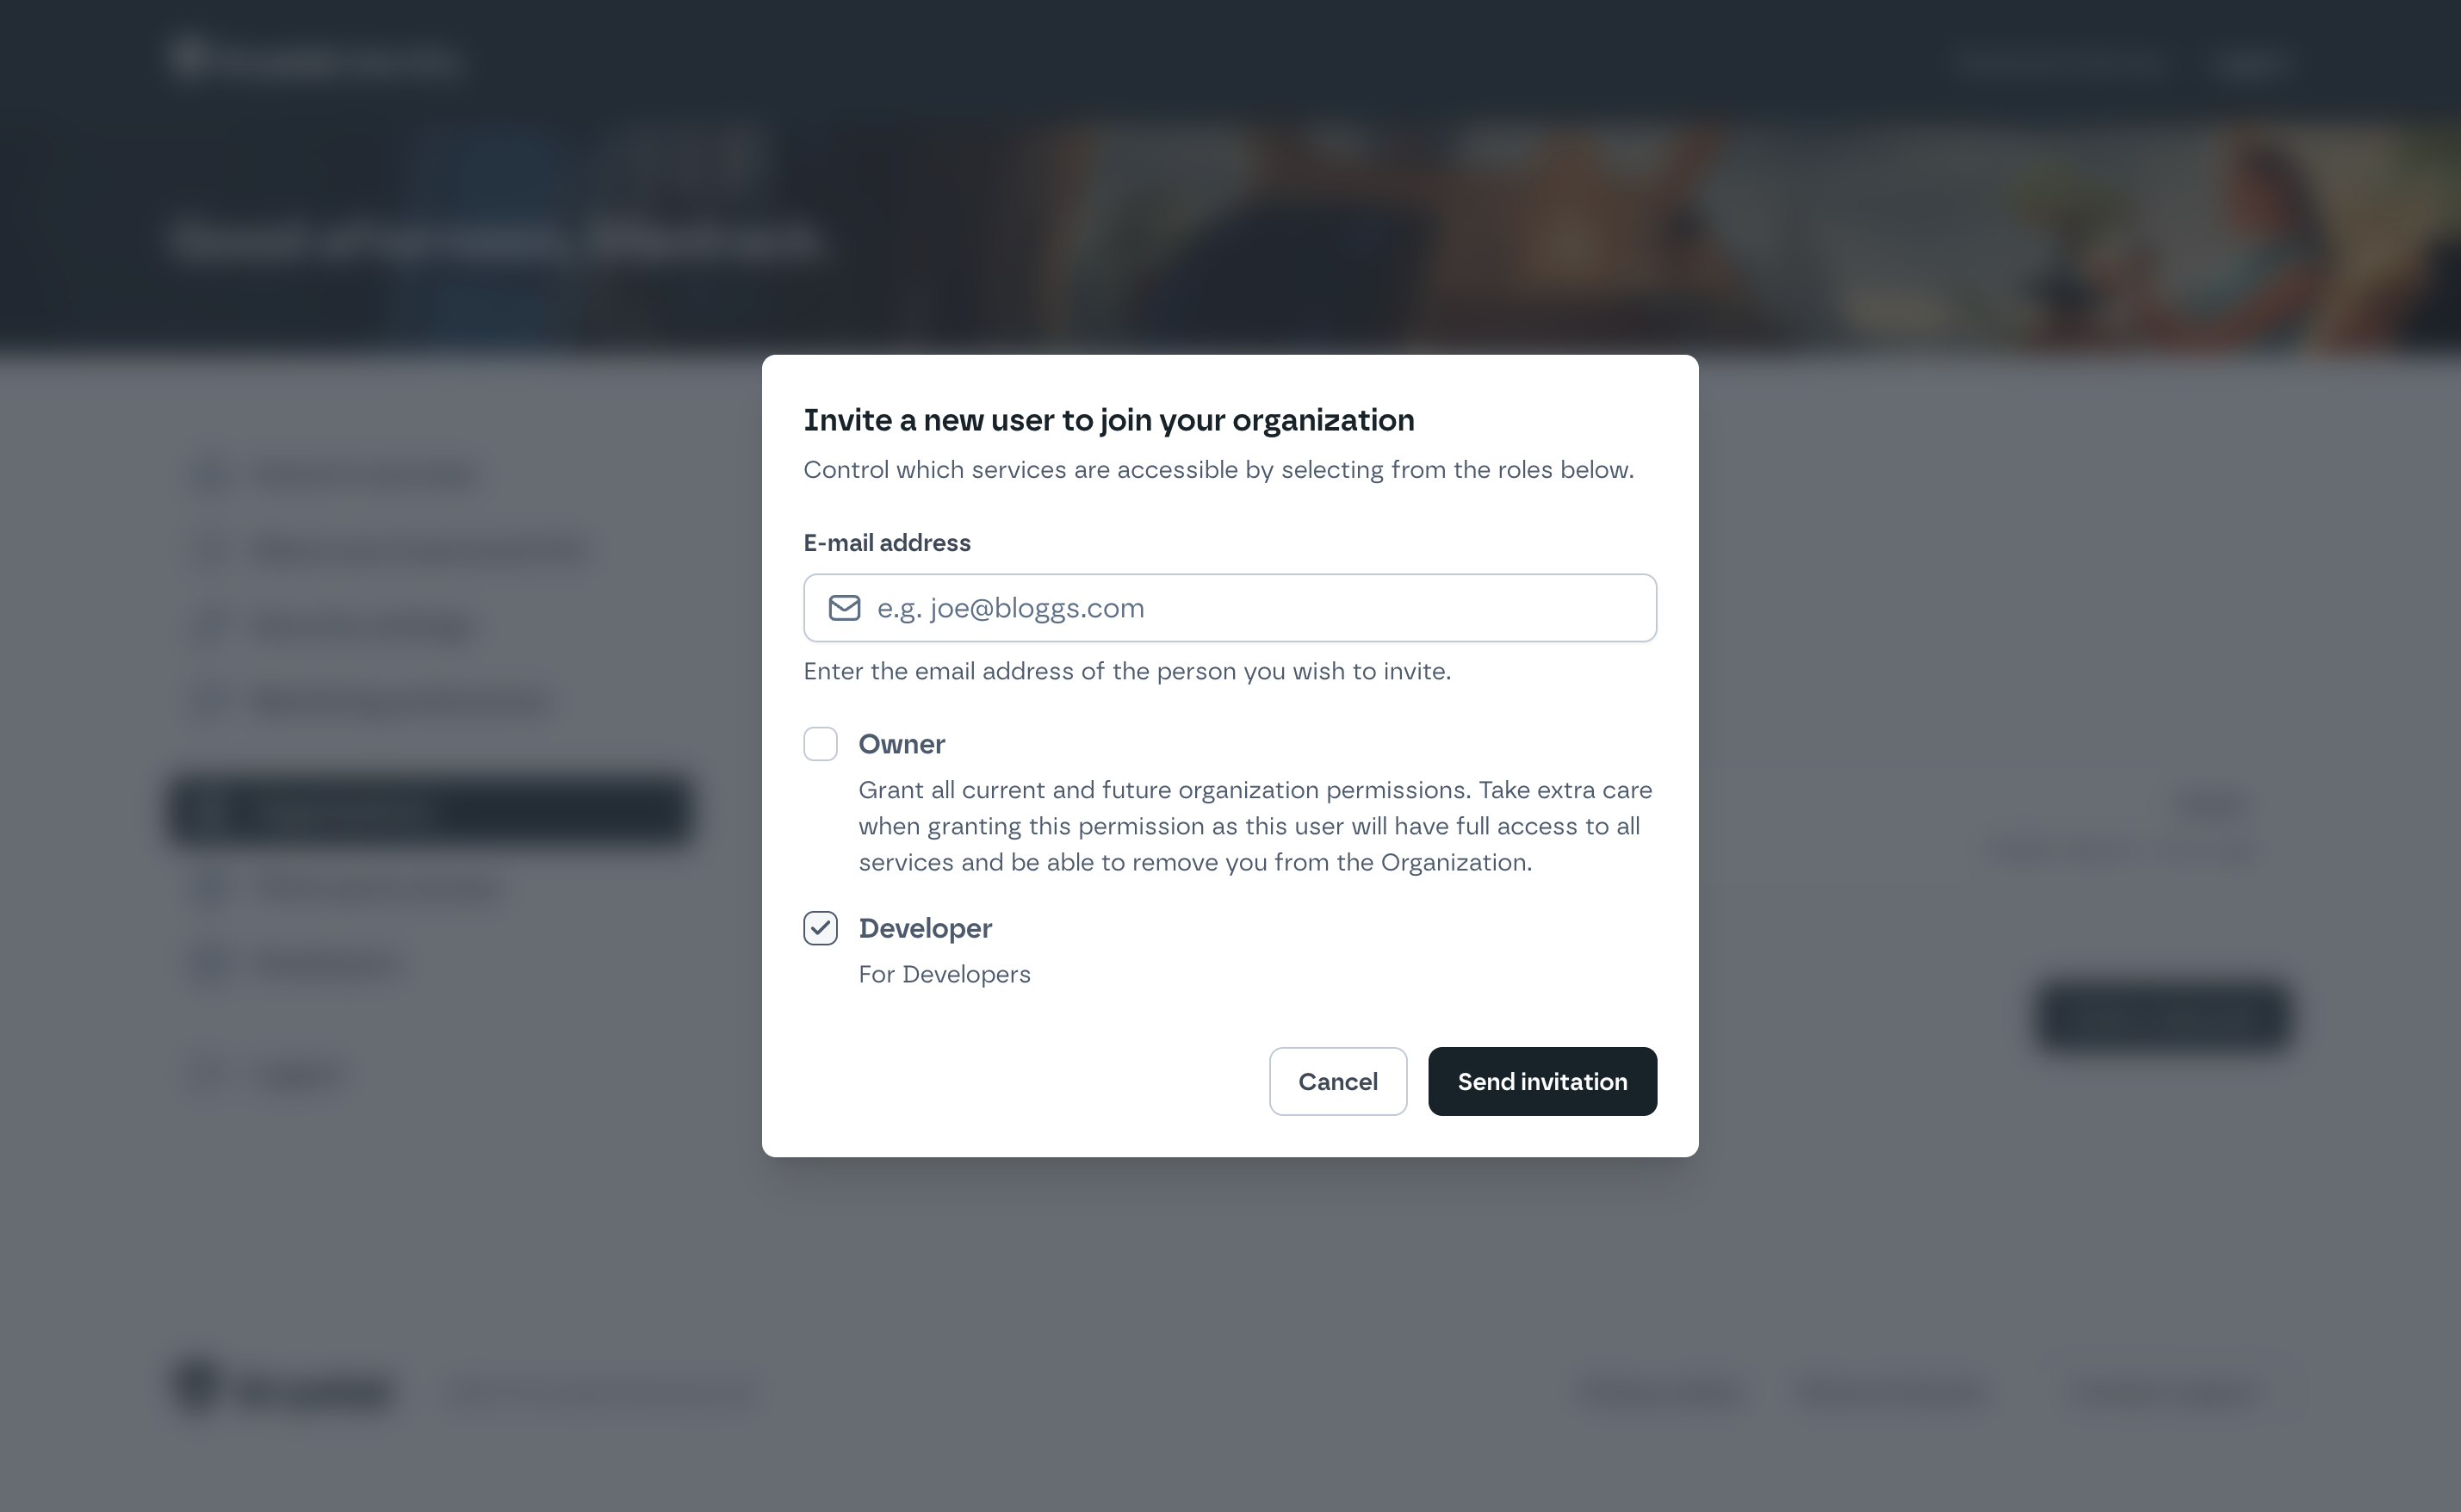
warning
- At least one role must be selected.
- Make sure the role has the appropriate permissions
Teammate accepts
-
They open the invitation email and click the link in the email.
-
To accept the invitation, they log in or create an account with Krystal Identity and choose Accept invitation.

- After completing the authentication step and accepting the invite in Identity, the page displays a button to click through to Katapult. However, the user may choose to click on "my account" or "manage organization," or simply close their browser.